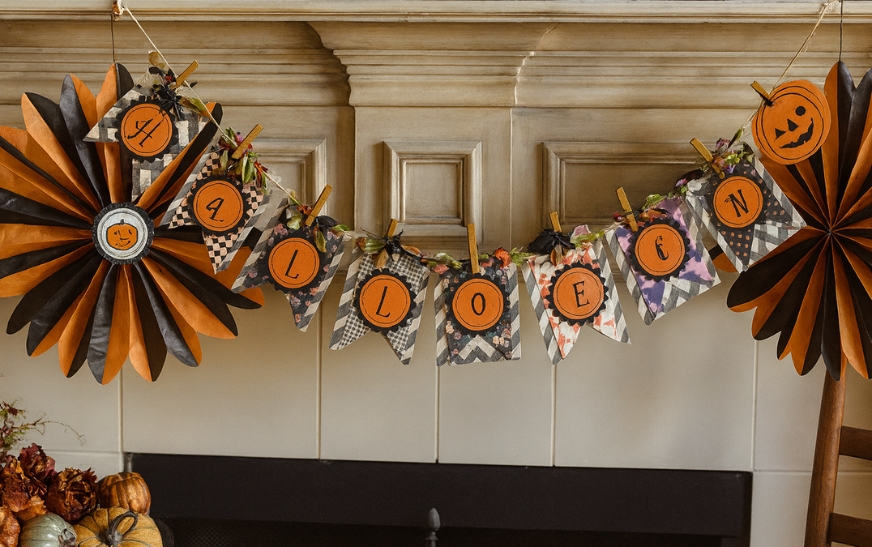
Rosette Halloween Banner
When you’re looking for an easy yet eye-catching way to decorate your home for Halloween, a paper rosette banner is one of the simplest projects you can try. It’s affordable, customizable, and versatile enough to match a range of interior design trends, from minimalist spaces to maximalist décor comebacks. Instead of buying mass-produced decorations, you can create something that feels personal and unique to your home.
Materials You’ll Need
To get started, gather basic supplies that are easy to find in craft stores or online. These include:
- Patterned or plain cardstock (Halloween colors like black, orange, or purple work well)
- Hot glue gun and sticks
- Scissors
- A ruler and pencil
- Ribbon, twine, or string to hang the banner
- Decorative elements such as stickers, cutouts, or stencils for extra flair
Using natural material décor like recycled cardstock or sustainable ribbon also helps you align your project with eco-friendly living.
Step 1: Preparing the Paper
Start by cutting your cardstock into equal-sized strips. A standard size is 4 inches wide and 12 inches long, though you can adjust depending on how large you want your rosettes to be. The goal is to keep the strips uniform so the rosette folds neatly. If you’re following texture trends, you can even mix matte and glossy paper for a layered effect.
Step 2: Folding the Strips
Accordion fold each strip back and forth, making folds about half an inch wide. Once you’ve finished folding, press the creases firmly to keep them sharp. This step is crucial because strong folds ensure your rosettes will hold their shape once assembled.
Step 3: Creating the Rosettes
After folding, glue the ends of each strip together to form a ring. Then, press the top edges inward so the folded paper collapses into a circle. Secure the center with hot glue, or place a small circle of cardstock on both the front and back for added stability. This not only strengthens the rosette but also gives you a surface to add decorative accents.
Step 4: Adding Halloween Flair
Now comes the fun part—customizing your rosettes. You can glue on paper bats, pumpkins, or skull motifs, or even stencil spooky words onto the center circles. For a modern touch, experiment with AI home décor apps to design printable Halloween shapes or lettering that match your existing style.
Consider layering different colors for depth, or adding metallic accents for a bit of shine. If your home leans toward quiet luxury interiors, choose more muted tones like copper and cream instead of bright orange and black.
Step 5: Assembling the Banner
Once you’ve created enough rosettes (usually 6–10, depending on the size of your space), attach them evenly along a ribbon or twine with hot glue. Leave extra length at both ends for hanging. You can display your banner on a mantel, doorway, or across a large wall to create a festive focal point.
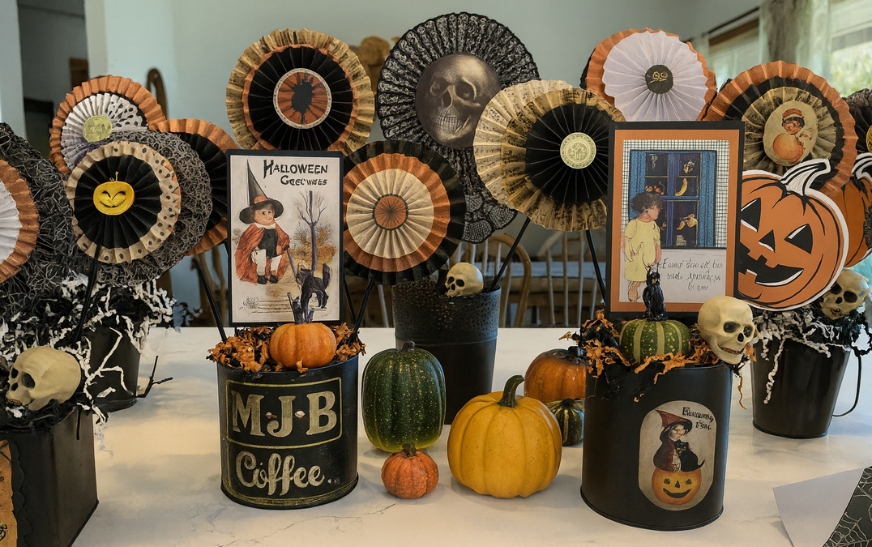
The Halloween Crafts
Styling Ideas for Different Interiors
One of the benefits of a paper rosette banner is its adaptability to different spaces. You can style it in several ways:
- Modern interiors: Use monochrome paper with subtle patterns to align with Japandi style interiors.
- Family-friendly homes: Add playful cutouts and bright colors for a cheerful touch.
- Sustainable décor: Choose recycled paper and biodegradable twine to support sustainable décor brands for conscious living.
- Multi-functional spaces: Hang it in a dining room that doubles as a workspace to quickly shift the mood for holiday gatherings.
Quick Tips for Success
- Always test your hot glue on a scrap piece first to avoid burning through thin paper.
- Pre-plan your rosette colors before gluing to keep the banner balanced.
- If you’re short on time, purchase pre-cut folding paper packs to save effort.
- Store the banner flat after Halloween so you can reuse it next year.
Why Handmade Décor Matters
Crafting your own Halloween banner allows you to experiment with wellness décor by engaging in a creative activity that relieves stress and adds personal charm to your home. Unlike store-bought items, handmade projects let you incorporate your personality, your family’s preferences, or even trending ambient lighting automation that highlights your banner at night.
Conclusion
A paper rosette Halloween banner is more than just a seasonal craft—it’s a statement piece that combines creativity, personalization, and practicality. By making your own decorations, you add warmth and character to your home without overspending. Whether your style is bold and festive or subtle and sophisticated, this DIY project can be tailored to fit your space, making it an ideal choice for anyone looking to celebrate Halloween with style and substance.